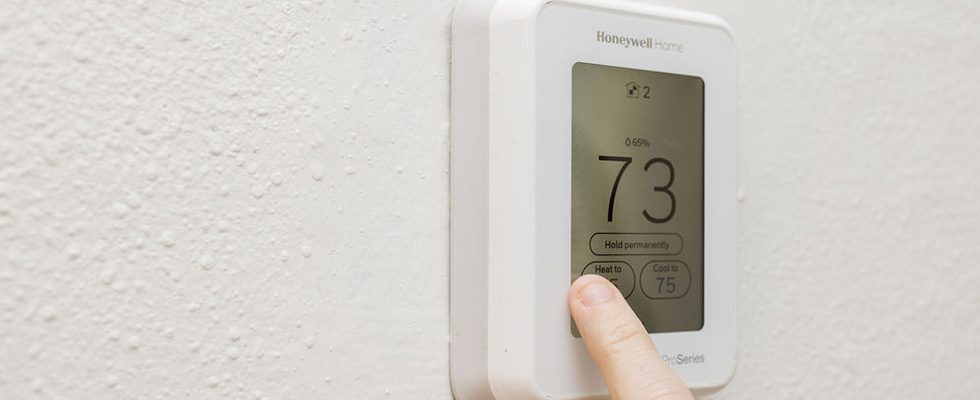
With the smart home boom, many homeowners have decided to forego the outdated tech of yesteryear in favor of brand-new smart lightbulbs, locks, and even thermostats. Smart thermostats are easily controlled and programmable, which can slash your energy bills. They also tend to have a sleeker look and more functionality, including LED screens and Wi-Fi connectivity.
These awesome new capabilities need power to function, which is where the C-wire comes into play. Although your old thermostat may have worked using regular batteries, your new thermostat may need a little extra juice to power all those new, cutting-edge features.
What Is a C-Wire?
C-wire is an abbreviation for “common wire,” although it is not so common as you may expect. By closing the circuit, it delivers constant 24-volt power to your thermostat. It is often blue or black, but in reality, the color of the wires in your thermostat doesn’t indicate their function – they are just shorthand to make installation a little easier. Some of the other wires powering your thermostat include:
- R-wire – Power, usually red
- G-wire – Fan, usually green
- Y-wire – Cooling, usually yellow
- W-wire – Heat, usually white
The easiest way to know if your system already uses a common wire is to remove the faceplate of your thermostat and check if any wire is connected to the C-terminal. If the terminal is empty, you have the following five options when installing your thermostat.
Option #1: Do Nothing
There are a lot of thermostats on the market that do not require a C-wire, including older models and some smart thermostats. However, when it comes to smart thermostats, this claim is misleading. While your thermostat may not technically need a C-wire to operate, it gets the power for its screen and Wi-Fi capabilities through “phantom power” or “power stealing.” Basically, this means your thermostat gets a kick of extra power whenever your HVAC system is running.
What does this look like in practice? For some people, power stealing is barely noticeable. Others complain that their furnace is always cycling and that their Wi-Fi doesn’t stay connected.
Option #2: Look for a Hidden C-Wire
As previously mentioned, older thermostats don’t necessarily need a C-wire to function. Yet, an unused C-wire may still be included in the bundle of thermostat wires tucked away in the wall.
To check, simply turn off your system’s power and open the front plate of the thermostat to see the current wire connections. Then, unscrew the backplate from the wall and gently pull both the backplate and the wires forward. You will see a wire sheath with several colored wires protruding from it.
If you notice an extra wire is wrapped around or taped to the sheath, you can use it as a C-wire. Reattach the thermostat to the wall, connect the hidden wire to the C-terminal, and replace the front plate. Then, go to your furnace and remove the panel to expose the circuit breaker. You should notice R, G, Y, W, and C terminals along the side somewhere. Attach the C-wire to the C-terminal, shut the panel, and turn the system back on.
Option #3: Use a G-Wire as a C-Wire
If there is no hidden C-wire, you can use a G-wire instead. However, you will not be able to use your fan independently when the heating or cooling isn’t running. Also, many HVAC systems are incompatible with this solution, including:
- HVAC systems using electric heat
- Two-wire heat-only HVAC systems
To do this, you will need to remove the old G-wire from your G-terminal and attach it to the C-terminal in both the thermostat and the furnace. You will also need a tiny jumper cable to connect the now-empty G-terminal to the Y-terminal on the furnace circuit board.
Option #4: Purchase an Adapter
Many smart home kits come with their own adapters, but you can also buy a separate one online or at a home improvement store. They come with a diode that splits the current from one of your existing wires into two new wires and a box containing new wires that you will mount on your furnace control panel.
Start by taking a photo of the current wire connections inside your thermostat and on your furnace circuit board. This will come in handy if you get confused while disconnecting and reconnecting wires.
For best results, follow the instructions that come in your kit or an online tutorial. Here is a summarized guide to give you a sense of what you’ll need to do:
Thermostat
- Remove the face plate of the thermostat.
- Switch the existing wire from the G-terminal to the C-terminal.
- Disconnect your existing Y-wire. The G and Y terminals should now be empty.
- Use a wire nut to connect your old Y-wire to the one-wire side of the diode.
- Connect the two other wires from the diode to the empty G and Y terminals. Five terminals should now have wires.
- Replace the thermostat on the wall.
Furnace
- Open your furnace’s panel.
- Mount the box onto the control panel.
- Connect the new red wire to the R-terminal, alongside your old R-wire.
- Connect the fifth new wire (the common wire, most likely a brown color) to the C-terminal.
- Disconnect and connect the rest of the wires to the terminals the same way you did inside the thermostat. (Remember to move the old G-wire to the C-terminal and to disconnect the old Y-wire.)
- Use a wire nut to connect your old Y-wire to the wire that matches the color of the diode.
Option #5: Install New Wires
Of course, you always have the option to install new wires altogether so you have a functioning C-wire without making modifications or sacrificing the use of your fan. While you can attempt this on your own, you may feel most comfortable leaving this job to a professional.
Thermostat Installation With Malek Service Company
Many homeowners don’t want the headache of switching their thermostat’s wires around, or they’re afraid to make a mistake and be left without cooling or heating. If you want to make sure your thermostat is hooked up correctly the first time and avoid any risk of damaging your system or new thermostat, you can trust the technicians at Malek Service Company to install a new C-wire and get your HVAC system up and running in no time. Our well-trained team has been providing HVAC service to Central Texas for nearly 30 years, so you can rely on us to do the job right. Call us at (979) 446-0296 today or request an appointment.

