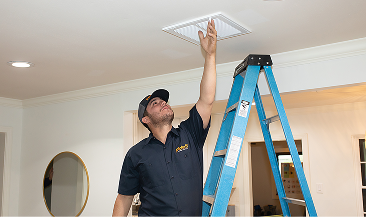
Generators
 Repair
 Total Protection Plan
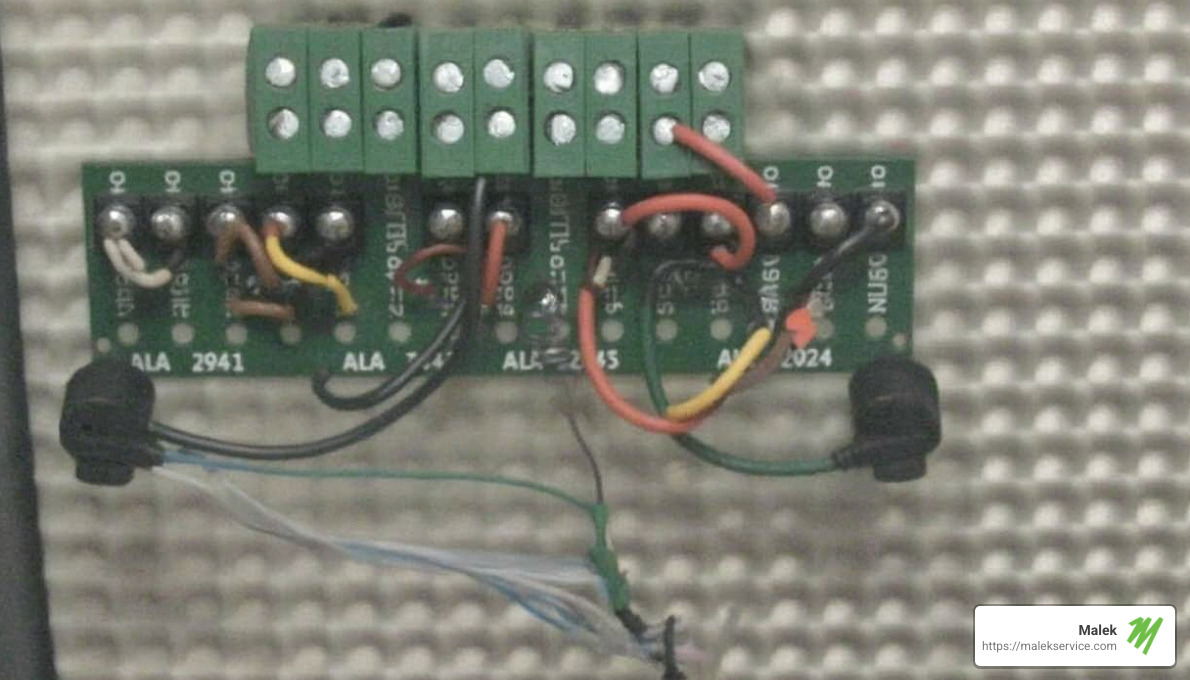
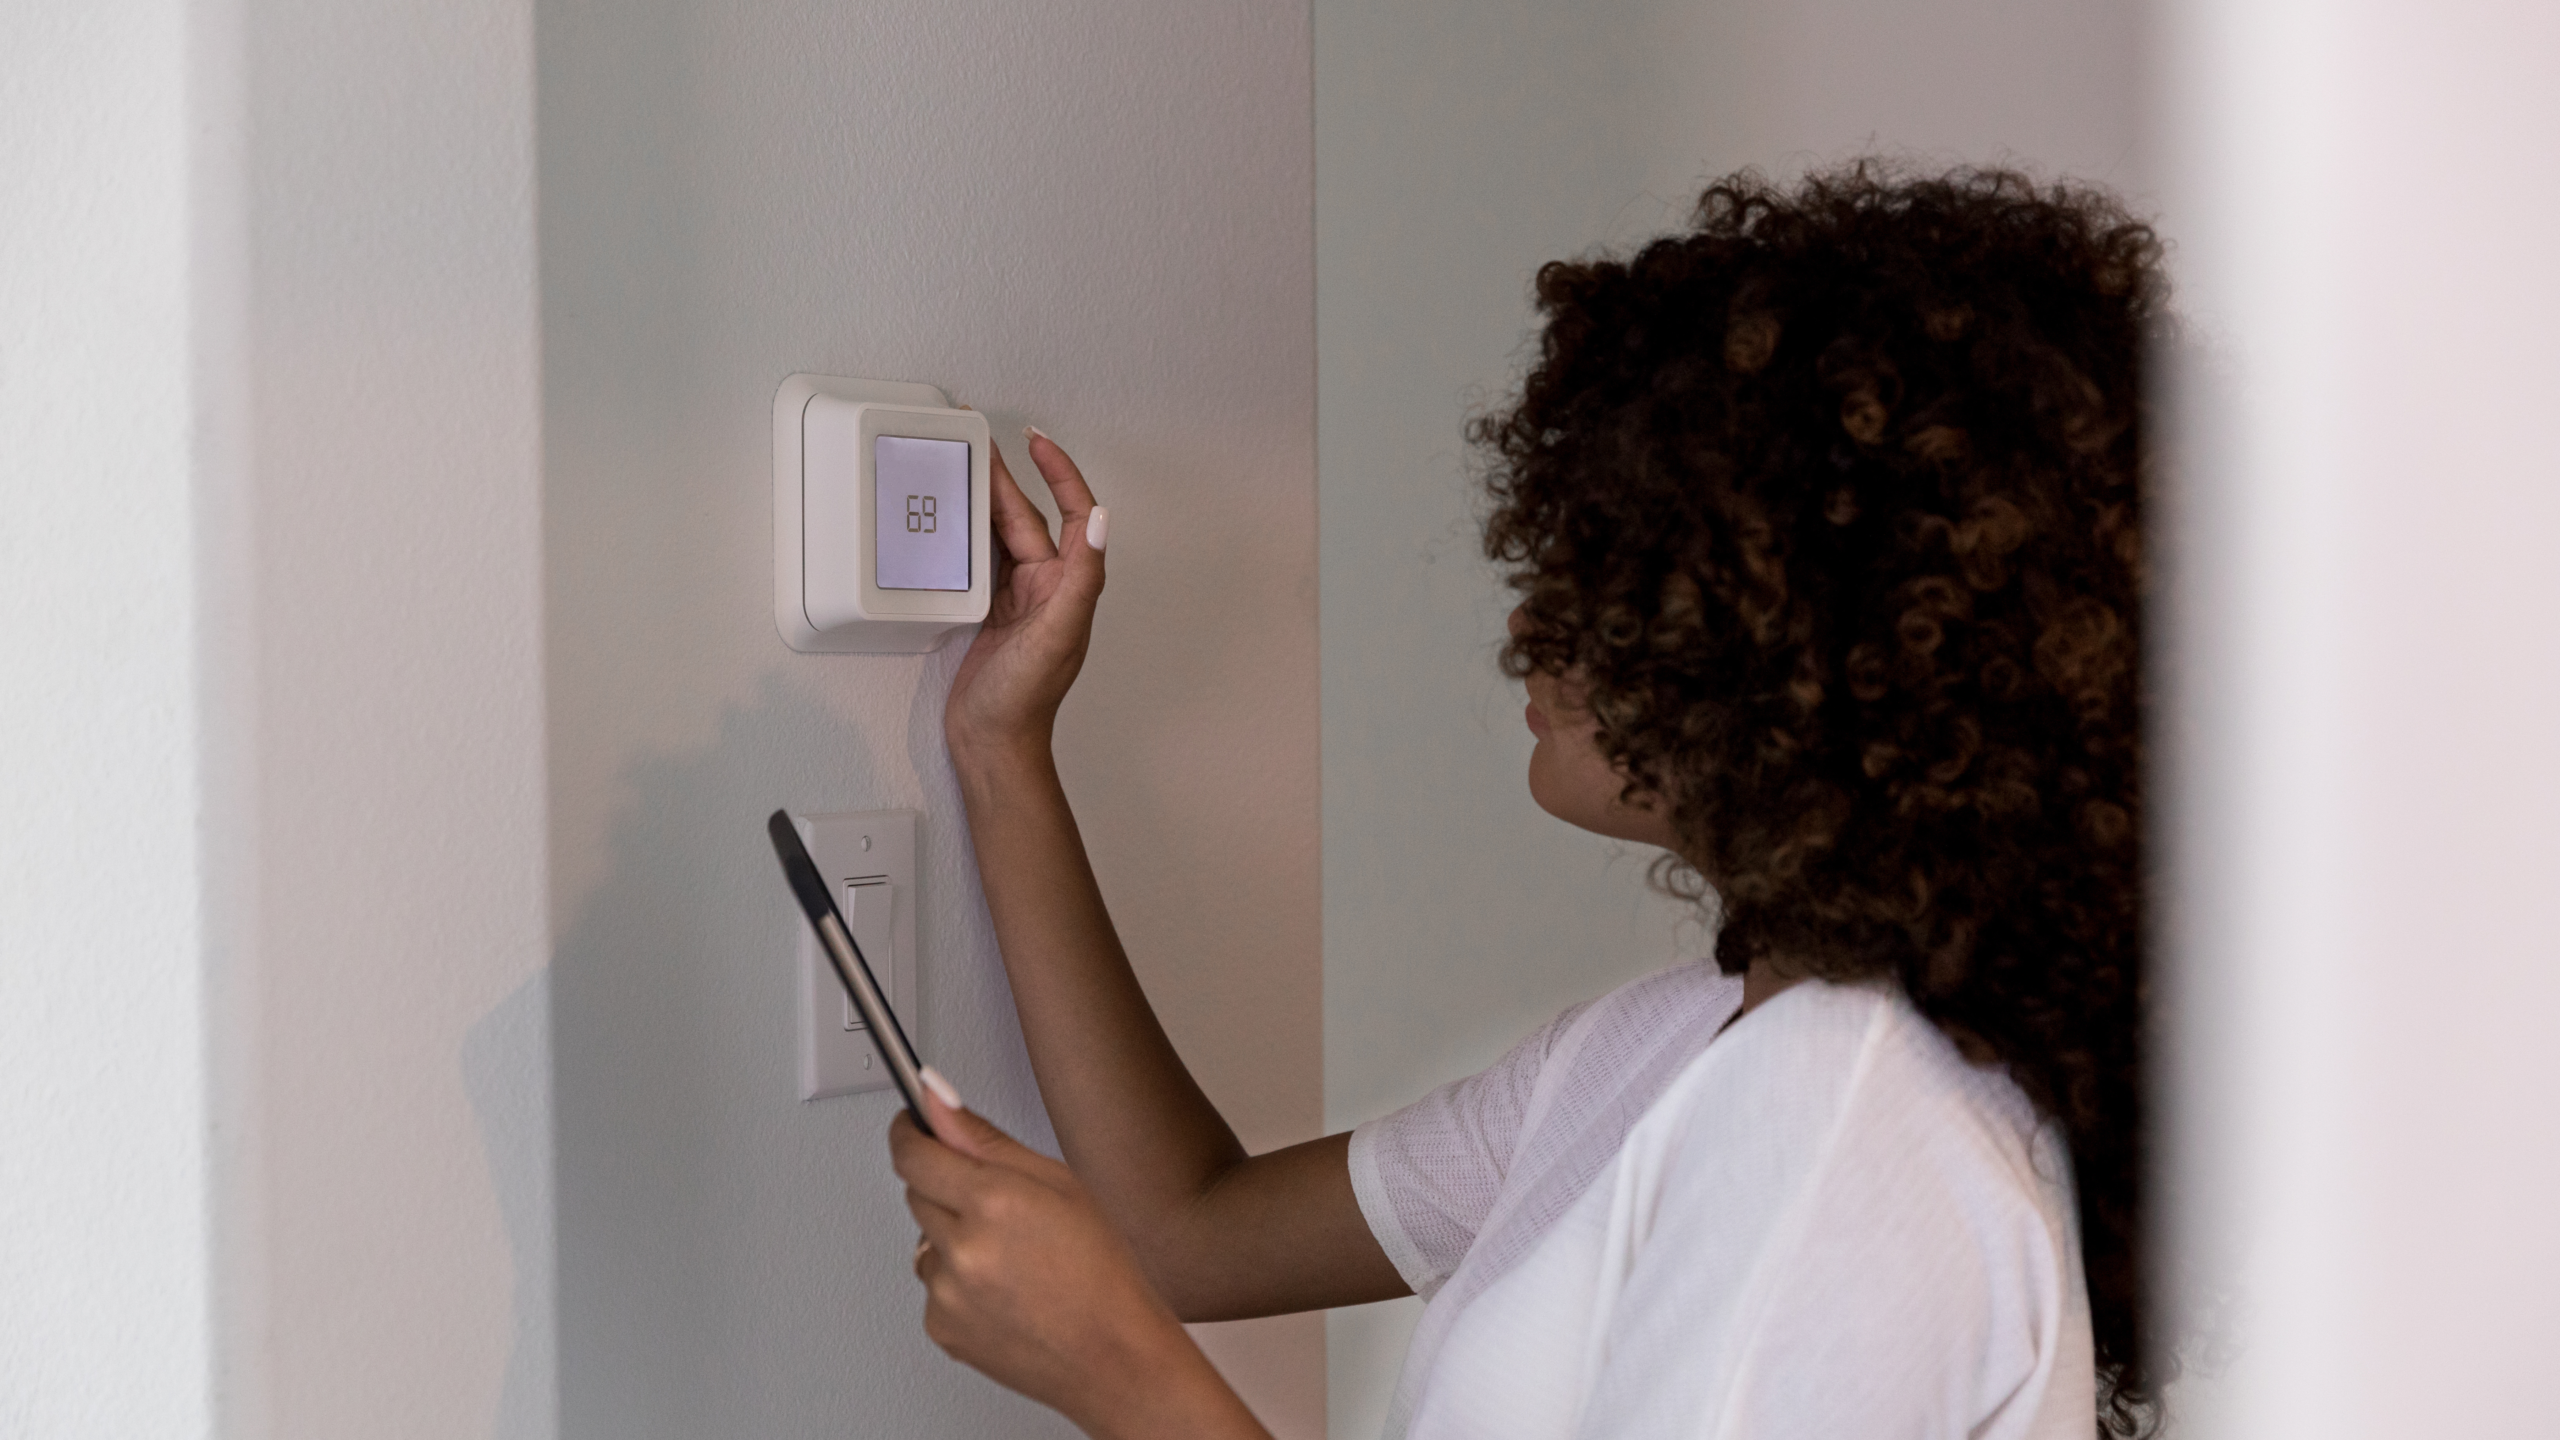
Thermostat wiring can feel like a mysterious task for many homeowners, especially when faced with a bundle of multicolored wires. If you’re searching for a streamlined overview of how to handle thermostat wiring, you’re in the right place. A thermostat is key to maintaining your home’s comfort and energy efficiency. By understanding the basics of thermostat wiring, you can ensure the seamless operation of your HVAC system—ultimately leading to lower energy bills and a more comfortable home environment.
Key points about thermostat wiring you need to know:
- Importance: Proper wiring is crucial for the correct functioning of your heating and cooling systems.
- Safety: Always turn off power before working on wiring to avoid electrical hazards.
- Common Wires: Typically include R-wire (power), G-wire (fan), Y-wire (cooling), W-wire (heat), and the optional C-wire (common) for newer, power-hungry thermostats.
As an experienced VP at Malek Service Company, I’m Courtney Zalesak, and I’ve spent over a decade helping homeowners like Helen tackle everyday HVAC challenges. Malek’s background in thermostat wiring stems from years of training and providing expert solutions for efficient home systems.

Understanding Thermostat Wiring
When it comes to thermostat wiring, understanding the basics can make all the difference. Let’s break down the core concepts, wire colors, and their functions to help explain this process.
Basic Concepts
At its core, a thermostat is a bridge between your home and your HVAC system. It communicates the desired temperature, prompting your system to heat or cool the space accordingly. For this communication to occur seamlessly, proper wiring is essential.
Most thermostats work by completing electrical circuits, which is why correct wiring is crucial. The wires connect to specific terminals on the thermostat, each serving a unique function.
Wire Colors and Their Functions
Wires in your thermostat setup are typically color-coded for ease of installation. Here’s a quick rundown of the common wires you might encounter:
- R-wire (Red): Power wire. This is usually red and provides the necessary power for the thermostat.
- G-wire (Green): Controls the fan. When activated, this wire turns on the fan in your HVAC system.
- Y-wire (Yellow): Responsible for cooling. It connects to your air conditioning system.
- W-wire (White): This wire is used for heating. It connects to your furnace or heating system.
- C-wire (Common, often Blue or Black): Provides continuous power. This wire is more common in smart thermostats that require constant power for features like Wi-Fi connectivity.
These colors are standard, but always double-check your system’s manual or labeling to ensure accuracy.
Functions of Thermostat Wires
Each wire in your thermostat setup plays a specific role:
- Power and Control: The R-wire powers the thermostat, while the G-wire, Y-wire, and W-wire control specific functions like fan operation, cooling, and heating.
- Continuous Power: The C-wire is essential for modern smart thermostats. It ensures that features like Wi-Fi connectivity and LED screens have a steady power supply. Without it, these features might not work reliably, leading to issues like intermittent connectivity or frequent battery changes.
Understanding these basics can empower you to handle simple troubleshooting or installations. However, if you’re ever in doubt, consulting with a professional, like those at Malek Service Company, is always a wise choice.
Next, we’ll dive into the tools and materials you need for a successful wiring project.
Tools and Materials Needed
Before you start with thermostat wiring, having the right tools and materials at hand is crucial. Let’s go through the essentials you’ll need to ensure a smooth and safe installation.
Screwdriver
A screwdriver is the backbone of any wiring project. You’ll need it to remove the faceplate of your thermostat and to unscrew the terminals where the wires connect. Make sure you have both flathead and Phillips head screwdrivers, as different models may require different types.
Wire Stripper
A wire stripper is a handy tool that allows you to strip the insulation off the ends of the wires without damaging them. This is important for creating a clean connection to the terminals. Ensure your wire stripper can handle the gauge of wires you’re working with, typically 18-24 AWG for thermostat wiring.
Voltage Tester
Safety first! A voltage tester is essential to confirm that there’s no live current running through the wires before you begin working. This simple tool can prevent electrical shocks and ensure you’re working in a safe environment.

Having these tools and materials ready will help streamline your thermostat wiring process. It’s always better to have them on hand before you begin to avoid any interruptions.
In the next section, we’ll guide you through the step-by-step process of wiring your thermostat.
Step-by-Step Guide to Thermostat Wiring
Now that you’re equipped with the necessary tools, let’s dive into the process of thermostat wiring. Follow these steps carefully to ensure a successful installation.
Preparation
- Turn Off Power: Safety is paramount. Before starting, switch off the power to your HVAC system. Use your voltage tester to double-check that the power is off.
- Remove the Faceplate: Use a screwdriver to gently remove the faceplate of your existing thermostat. This will expose the wires connected to the terminals.
- Label the Wires: As you disconnect each wire, label it according to its terminal (R, G, Y, W, C). This will make it easier to connect them to your new thermostat.
- Check for a C-Wire: Look for a wire connected to the C-terminal. If it’s not connected, refer to the guide on checking for a hidden C-wire.
Removal
- Unscrew the Backplate: Once wires are labeled, unscrew the backplate from the wall. Carefully pull it away to reveal the wire sheath.
- Inspect the Wiring: Examine the wires for any damage. If any wires are frayed or broken, they should be repaired before proceeding.
Installation
- Mount the New Thermostat Backplate: Align the new backplate with the wall. Use screws to secure it in place.
- Connect the Wires: Attach each labeled wire to the corresponding terminal on the new thermostat. Ensure each connection is tight to prevent future issues.
- R-wire: Connects to the power terminal.
- G-wire: Connects to the fan terminal.
- Y-wire: Connects to the cooling terminal.
- W-wire: Connects to the heating terminal.
- C-wire: Provides constant power, if available.
- Attach the Faceplate: Once all wires are connected, snap the new faceplate onto the backplate.
Testing
- Restore Power: Turn the power back on to your HVAC system.
- Test the Thermostat: Set your thermostat to heating or cooling mode. Ensure that the system responds correctly.
- Check Wi-Fi and Display: If using a smart thermostat, verify that the Wi-Fi connection and display are functioning properly. If issues arise, consider the possibility of power stealing as discussed in the C-wire guide.

By following these steps, you can confidently install your thermostat. If you encounter any difficulties or your system doesn’t work as expected, professional help is just a call away.
Next, we’ll explore the different wiring configurations you may encounter.
Common Wiring Configurations
When it comes to thermostat wiring, understanding the different configurations is key. Here, we’ll cover three common setups: single-stage, multi-stage, and heat pump systems.
Single-Stage Systems
Single-stage systems are the most straightforward. They have one level of heating or cooling. If you live in an area like College Station, TX, where extreme temperatures aren’t common, this might be your setup.
Key Wires:
- R-wire: Power
- G-wire: Fan
- Y-wire: Cooling
- W-wire: Heating
In this configuration, each wire has a single function. It’s simple and effective for homes with basic heating and cooling needs.
Multi-Stage Systems
Multi-stage systems offer more precision. They have multiple levels of heating or cooling, which can be more energy-efficient and comfortable. This is ideal for regions with varying temperatures, like Houston, TX.
Additional Wires:
- Y2-wire: Second stage cooling
- W2-wire: Second stage heating
These extra wires allow the system to operate at different intensities. For example, on a mild day, only the first stage might run, saving energy compared to full power operation.
Heat Pump Systems
Heat pumps are versatile. They can heat or cool your home, making them popular in places with mild winters, such as Brazos County, TX.
Unique Wires:
- O/B-wire: Reversing valve for heating/cooling mode
- Aux/E-wire: Auxiliary or emergency heating
In a heat pump system, the O/B wire is crucial. It tells the system whether to heat or cool. The Aux/E wire provides extra heat when it’s very cold outside.
Understanding these configurations helps you identify the right setup for your home. Whether you’re in a single-stage, multi-stage, or heat pump environment, knowing the wiring specifics ensures optimal performance.
Next, we’ll dive into troubleshooting common wiring issues you might face.
Troubleshooting Thermostat Wiring Issues
Even with a solid understanding of thermostat wiring, issues can pop up. Let’s explore some common problems, along with their solutions and handy tips to help you out.
Common Problems
- Thermostat Not Turning On
- Possible Cause: No power supply to the thermostat.
- Solution: Check the R-wire connection. Ensure it’s securely connected to the R-terminal. Also, verify the circuit breaker isn’t tripped.
- HVAC System Not Responding
- Possible Cause: Incorrect wiring or loose connections.
- Solution: Double-check each wire is connected to the correct terminal. Refer to your system’s manual for specific wiring diagrams.
- Inconsistent Temperature Control
- Possible Cause: Faulty thermostat sensor or miscalibrated settings.
- Solution: Make sure the thermostat is level and away from heat sources. If problems persist, consider replacing the thermostat.
Solutions and Tips
- Label Your Wires: Before you disconnect any wires, label them. This makes reconnecting much easier and reduces the risk of errors.
- Use a Voltage Tester: Always use a voltage tester to ensure no power is flowing through the wires before you start working. This is crucial for safety.
- Check for a C-Wire: If you’re installing a smart thermostat, ensure you have a C-wire for continuous power. If missing, you might need an adapter or professional help to install one.
- Consult a Professional: If troubleshooting doesn’t solve the problem, or if you’re unsure about handling electrical components, it’s wise to consult a professional. Malek Service Company offers expert technicians ready to assist and ensure your system runs smoothly.
By understanding these common issues and their solutions, you can tackle most thermostat wiring problems with confidence. Up next, we’ll address some frequently asked questions to further clarify any uncertainties you may have.
Frequently Asked Questions about Thermostat Wiring
What are the common wire colors and their functions?
Thermostat wiring can seem confusing at first, but understanding the color-coding helps a lot. Here’s a quick guide:
- R-wire: Usually red, this wire supplies power to the thermostat.
- G-wire: Typically green, it connects to the fan.
- Y-wire: Often yellow, this wire is responsible for cooling.
- W-wire: Usually white, it controls heating.
- C-wire: Known as the “common wire,” it provides continuous 24-volt power, often blue or black.
While these colors are common, they aren’t universal. Always double-check the wiring diagram for your specific system.
How do I know if my wiring is compatible with a smart thermostat?
Smart thermostats offer advanced features like Wi-Fi connectivity and programmable settings, but they require a bit more power. Here’s how to check compatibility:
- Look for a C-Wire: Remove your thermostat’s faceplate and see if there’s a wire connected to the C-terminal. This wire is crucial for powering smart features.
- Check for Power-Stealing: Some smart thermostats can work without a C-wire by using a method called “power stealing.” However, this can lead to issues like constant cycling of your HVAC system or unstable Wi-Fi connections. If you experience these problems, consider installing a C-wire.
- Consult the Manual: Your thermostat’s manual will have specific compatibility requirements. It’s worth a read!
What should I do if my thermostat isn’t working after wiring?
If your thermostat isn’t functioning properly after installation, don’t panic. Here are some steps to troubleshoot:
- Double-Check Connections: Ensure all wires are securely connected to their corresponding terminals. Loose or incorrect connections are common culprits.
- Verify Power Supply: Check that the circuit breaker is on and the R-wire is supplying power. A voltage tester can help confirm this.
- Inspect the Thermostat: Make sure it’s seated correctly on the base and the settings are configured properly.
- Look for Hidden Issues: Sometimes, unused wires like a hidden C-wire can be used to solve power issues. Check behind the thermostat for any tucked-away wires.
- Seek Professional Help: If these steps don’t resolve the issue, it might be time to call in the experts. The technicians at Malek Service Company can ensure everything is installed correctly and safely.
By keeping these FAQs in mind, you’ll be well-equipped to handle most thermostat wiring challenges. Let’s continue exploring how you can make the most of your thermostat setup in the next section.
Conclusion
When it comes to thermostat wiring, having the right expertise can make all the difference. At Malek Service Company, we pride ourselves on our team of expert technicians who are well-versed in the intricacies of HVAC systems. Our professionals undergo regular training to stay updated with the latest technologies, ensuring that your thermostat is installed correctly and efficiently.
With nearly 30 years of experience serving Central Texas, our commitment to high-quality service is unwavering. We understand that the thought of wiring a thermostat can be daunting, especially when dealing with smart thermostats that require precise installation for optimal performance. That’s why we offer professional installation services designed to take the stress out of the process.
Why choose Malek Service Company for your thermostat needs?
- Expert Technicians: Our team is experienced and equipped to handle any thermostat wiring challenge, ensuring a seamless installation that meets your specific needs.
- Professional Installation: We guarantee that your system will be up and running smoothly, avoiding any potential risks or errors that could lead to further issues.
- Customer Satisfaction: Your comfort and satisfaction are our top priorities. If you’re not completely satisfied with our work, we’ll make it right.
If you’re ready to upgrade to a smart thermostat or need help with your current system, don’t hesitate to reach out. Contact Malek Service Company today to schedule your installation with our expert technicians. Let us help you achieve a more energy-efficient and comfortable home environment.